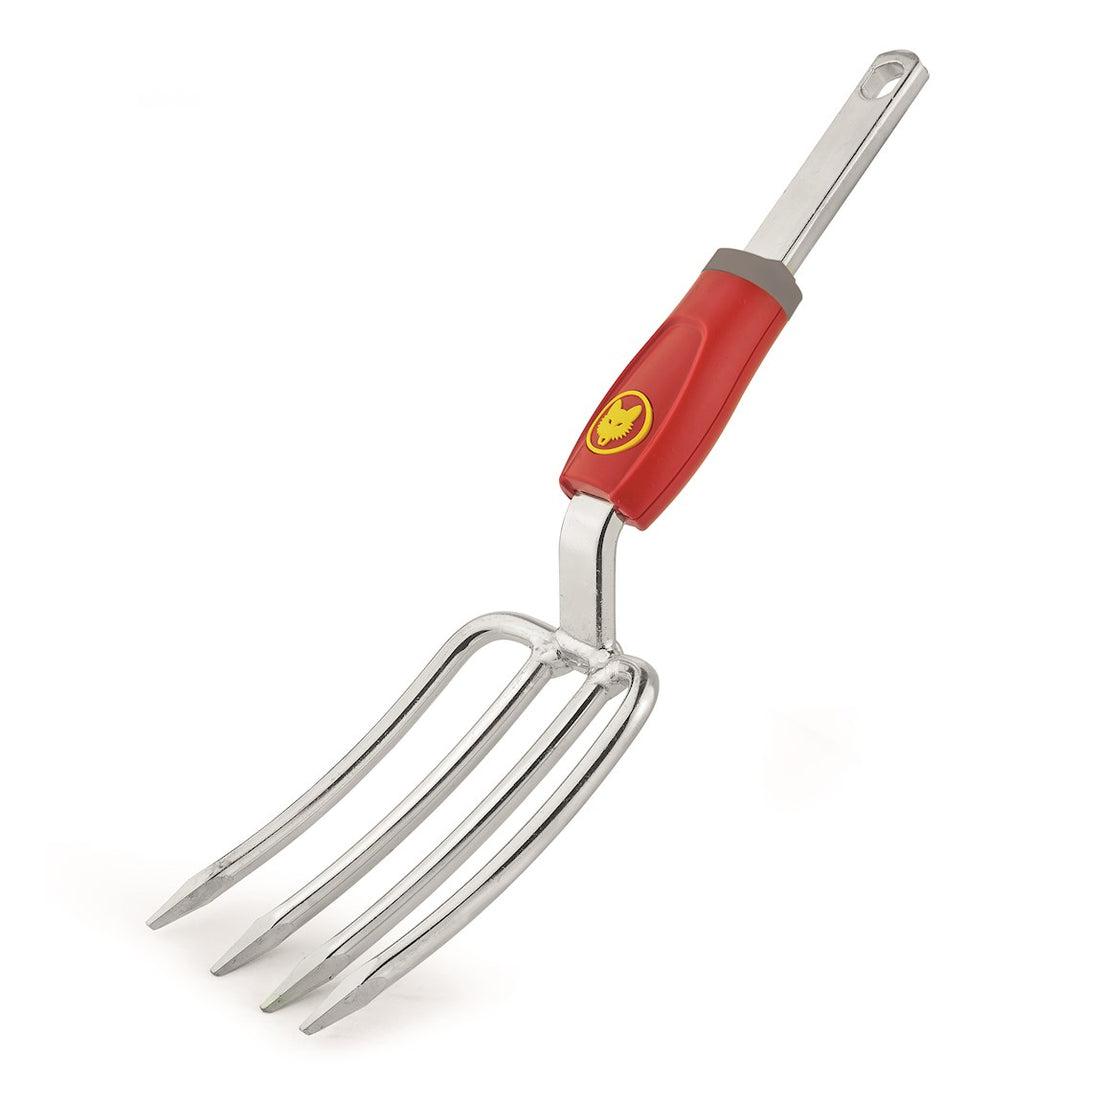
Spring is a season of rejuvenation and new beginnings, especially for gardening enthusiasts. As the weather warms and nature bursts into life, it's time to bring out those seedlings you've nurtured indoors and give them a new home in your garden. To ensure their successful transition, using the right tools is essential. In this blog, we'll delve into the benefits of using a hand fork for planting out your springtime seedlings. From improving soil aeration to minimizing root damage, this versatile tool will be your gardening ally. WOLF-Garten Multi-Change® Hand Fork 7.5cm – WolfOnline
-
Understanding the Hand Fork: A hand fork is a compact and versatile gardening tool consisting of a handle and several sturdy, tine-like prongs. Unlike a traditional garden fork, a hand fork is smaller in size, making it perfect for working in tighter spaces and delicate areas of your garden. Its primary function is to cultivate soil, remove weeds, and aid in transplanting seedlings with precision.
-
Preparing the Soil: Before transplanting your seedlings, it's crucial to prepare the soil properly. Using your hand fork, loosen the soil by gently penetrating the surface, breaking up any clumps and removing debris. This process enhances soil aeration and improves drainage, ensuring your seedlings have a healthy growing environment.
-
Minimizing Root Damage: One of the key advantages of using a hand fork is its ability to minimize root damage during the transplantation process. The fork's prongs allow you to carefully lift the seedlings from their pots or seed trays without disturbing the delicate roots. By avoiding root damage, you enhance the seedlings' chances of thriving in their new location.
-
Digging Small Holes: When it comes to planting out your seedlings, the hand fork's tines are incredibly useful. With its sharp and narrow prongs, you can dig small, precise holes in the soil. Gently press the hand fork into the ground, creating a hole large enough to accommodate the seedling's root system. This method allows for better control and accuracy while planting, ensuring the seedlings are positioned at the appropriate depth.
-
Proper Seedling Placement: As you carefully place the seedling into the hole, use the hand fork to lightly firm the soil around its base. This gentle pressing helps eliminate air pockets and provides stability to the newly planted seedling. Remember to leave enough space between each seedling to allow for their growth and development.
-
Watering and Mulching: After planting your seedlings, it's important to give them a good drink of water to help them settle into their new environment. The hand fork can be handy for creating small channels around each seedling, directing water toward the roots. Additionally, you can use the hand fork to spread a layer of mulch around the base of the seedlings. Mulching helps retain moisture, suppresses weed growth, and regulates soil temperature.
Conclusion: Using a hand fork to plant out your springtime seedlings is a valuable technique that offers several benefits for both you and your plants. From soil preparation to minimizing root damage, this versatile tool provides the precision and control required for successful transplanting. As you venture into your gardening journey this spring, make sure to include a trusty hand fork in your arsenal. With its assistance, you'll be well-equipped to create a flourishing garden filled with vibrant and healthy seedlings. Happy gardening!

